
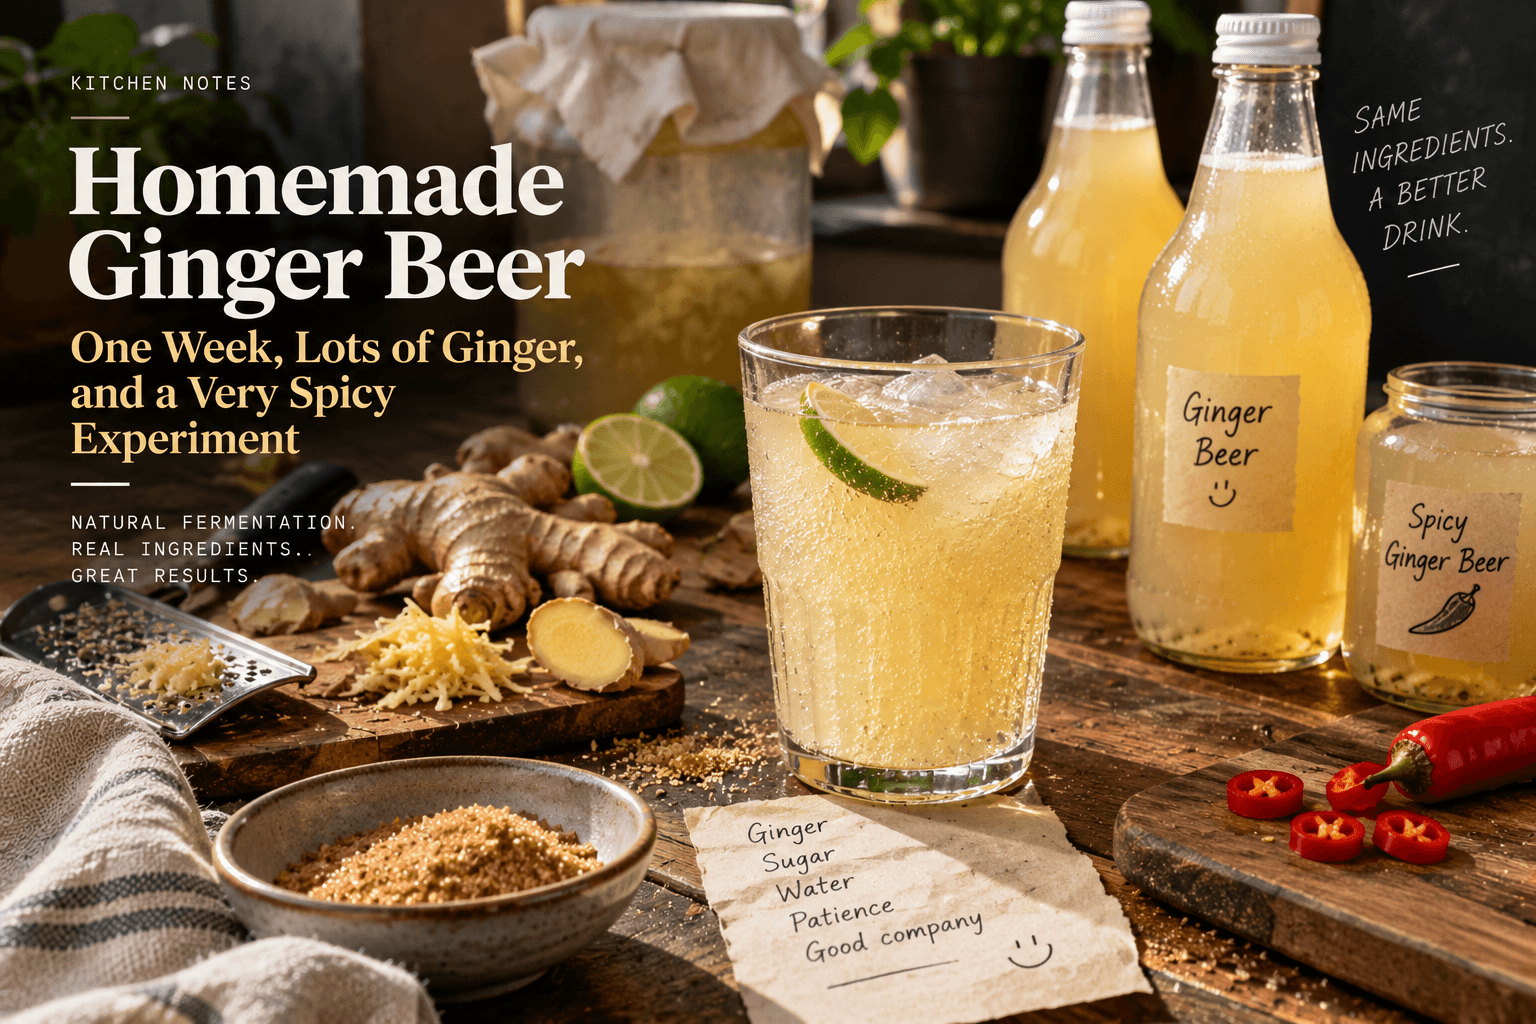
How my son and I made naturally fermented ginger beer from scratch, using nothing more exotic than fresh ginger, sugar, water and a little patience.
I love ginger.
Ginger tea, ginger in food, ginger in practically anything where its presence is even remotely defensible.
My son seems to have inherited this preference.
So recently we decided to try making our own ginger ale.
Or ginger beer.
I call it ginger ale. My son, who is becoming increasingly French, prefers ginger beer.
Technically, given that we're making it through natural fermentation rather than simply mixing ginger syrup with carbonated water, ginger beer is probably the more appropriate name.
Either way, the result is wonderful.
A naturally fizzy ginger drink with a strong, fresh flavour, a pleasant balance of sweetness and acidity, and none of the artificial ginger flavour that makes some commercial versions taste like somebody showed a bottle of lemonade a photograph of a ginger root.
The only problem?
You need quite a lot of ginger.
And approximately a week of patience.
Fortunately, the actual work takes very little time.
First, you need a ginger bug
A ginger bug is a simple fermentation starter made from fresh ginger, sugar and water.
The idea is to encourage naturally occurring microorganisms, including wild yeasts and bacteria, to develop a small active culture.
That culture will eventually carbonate our drink.
You don't need commercial yeast or specialised brewing equipment.
I started with a large beer glass.
Not because a beer glass is particularly important to the chemistry, but because it was approximately the right size and happened to be available.
For the ginger bug:
- 400 ml water
- 1½–2 tablespoons freshly grated ginger
- 2 tablespoons sugar, preferably cane sugar
- Additional ginger and sugar for daily feeding
I used fresh ginger root and grated it finely.
Into the glass went the water, ginger and sugar.
A good stir, and that was essentially the entire first day's work.
I covered the glass with a clean cloth, allowing air to circulate while keeping insects and dust out, and placed it in a shaded spot in the kitchen at room temperature.
Then I waited.
Feeding the little monster
For the next several days, the ginger bug needs a little attention.
Once a day, I removed the cloth and added approximately:
- 1 teaspoon freshly grated ginger
- 1 teaspoon sugar
Then I stirred everything and covered it again.
That's it.
No elaborate laboratory procedure.
No special fermentation chamber.
Just a glass of increasingly lively ginger water sitting in the kitchen.
After a few days, small bubbles began appearing.
Eventually, the mixture became visibly active.
By the fifth day, mine was producing enough bubbles that I decided it was ready.
Depending on temperature and the activity of the culture, this can take around five to seven days, sometimes longer.
The important signal isn't the calendar.
It's the fermentation activity.
You want a clearly bubbly starter with a fresh, mildly fermented smell, not a motionless glass of sugary ginger water.
Once you have that, the interesting part begins.
Making three litres of ginger beer
The next step is preparing the actual ginger drink.
I estimated that my starter would be enough for approximately three to three and a half litres.
Which seemed like a reasonable quantity for two people who really like ginger.
For the ginger beer base:
- 3 litres water
- 200–250 g fresh ginger root
- 200 g sugar
- The strained liquid from the active ginger bug
Yes, that's a substantial amount of ginger.
I warned you.
I brought the three litres of water to a boil.
Then I added the grated ginger and sugar.
Stirred everything thoroughly.
Brought it back to a gentle boil.
Then reduced the heat and let it simmer for approximately fifteen minutes.
The kitchen smelled fantastic.
Strong, fresh, slightly spicy ginger everywhere.
At this point, you essentially have a very concentrated ginger infusion.
It is already quite good.
But we're not finished.
Let it cool. Completely.
This part matters.
After simmering, I removed the pot from the heat and let the mixture cool to room temperature.
You don't want to add a living fermentation starter to hot liquid.
That would be a rather efficient way to kill the microorganisms you've spent five days cultivating.
Once the ginger infusion had cooled, I strained out the grated ginger.
Then I strained the liquid from my ginger bug and mixed it into the cooled infusion.
A good stir.
And our ginger beer was ready for its second fermentation.
Not ready to drink yet.
But close.
Why I used plastic bottles
I poured the mixture into clean plastic bottles, leaving some empty space at the top.
There was a very practical reason for choosing plastic.
You can feel the carbonation developing.
When the drink has just been bottled, the bottle is relatively soft.
As fermentation continues, microorganisms consume some of the sugar and produce carbon dioxide.
Because the bottle is closed, that gas creates pressure.
The bottle becomes firmer.
Eventually, you can feel that it has developed substantial internal pressure.
That is a useful indication that carbonation is happening.
I checked the bottles periodically.
For our batch, the process took approximately twenty-four hours.
Depending on temperature and fermentation activity, it may take anywhere from roughly twelve to thirty-six hours, sometimes longer.
Once the bottles were firm, I transferred them to the refrigerator to slow fermentation and chill the drink.
One important detail: firmness tells you that pressure has accumulated, not that fermentation has completely finished.
And although I initially reused water bottles, for future batches I would recommend clean, food-grade PET bottles designed to hold carbonated drinks. They're more suitable for pressure than thin bottles intended for still water.
Then my son wanted a spicy version
Naturally, simply making ginger beer wasn't enough.
My son wanted to experiment.
Specifically, he wanted a spicy version.
We grow hot peppers on our terrace, so we had some fresh ones available.
I cut a small slice from one of the peppers, approximately two or three millimetres thick.
Then I dropped it into one of the bottles immediately after filling it.
Nothing else changed.
The pepper stayed in the bottle throughout the same secondary fermentation period.
I was curious about the result.
Ginger is already spicy, but its heat is quite different from chilli.
Ginger gives you a warm, aromatic sharpness.
Chilli produces a more direct, lingering heat.
Combining the two could either be excellent or a very efficient way to create something nobody wanted to drink.
Fortunately, it was excellent.
The result
After approximately a day in the bottles, followed by refrigeration, we finally tasted our ginger beer.
And it was genuinely good.
A strong ginger flavour.
Natural carbonation.
A pleasant balance between sweetness and acidity.
The fermentation had reduced some of the sweetness, and the drink had developed a lightly tangy character.
It tasted fresh and lively.
Not overly sweet.
Not aggressively sour.
Just a very satisfying ginger drink.
And then we tried the spicy bottle.
That one was even more interesting.
The chilli hadn't completely overwhelmed the ginger.
Instead, it added a distinct, noticeable heat that appeared after the initial ginger flavour.
Quite a successful experiment.
My son was pleased.
I was pleased.
And we immediately agreed that this should become a regular household activity.
A few things worth knowing before trying this
Natural fermentation is simple, but it isn't entirely predictable.
A few practical precautions are worth remembering.
Use clean equipment and fresh ingredients. If the starter develops visible fuzzy mould, an unpleasant rotten smell or other obvious signs of spoilage, discard it and start again.
Never assume that a sealed bottle has stopped fermenting. Pressure can continue increasing, particularly at room temperature. Check bottles frequently, refrigerate them promptly once sufficiently carbonated, and open them slowly while chilled, preferably over a sink.
Avoid using ordinary glass bottles that aren't designed for pressure. Fermentation can produce enough gas to rupture containers.
And there's another important distinction.
Although we think of this as a non-alcoholic ginger drink, natural fermentation does not guarantee zero alcohol. Yeasts can produce both carbon dioxide and ethanol, and the amount varies with fermentation conditions.
If you need a strictly alcohol-free drink, particularly for children, it's better to prepare a ginger syrup and mix it with carbonated water rather than rely on uncontrolled fermentation.
For me, these aren't reasons to avoid experimenting.
They're simply part of understanding what you're making.
Next time, more experiments
We've already decided to make another batch.
The original version is good enough that I don't particularly want to change it.
But the spicy version opens up possibilities.
Different peppers.
Different levels of heat.
Perhaps lemon or lime.
Maybe some herbs.
I'm sure we'll eventually produce something completely undrinkable.
That's part of the fun.
For now, though, the basic recipe is staying exactly as it is.
Fresh ginger.
Sugar.
Water.
A naturally fermented starter.
A little patience.
And approximately a week later, something far more interesting than another bottle of supermarket lemonade.
Not bad for a project that began with a beer glass full of grated ginger.
More Kitchen Notes
For another kitchen experiment, try Marmite Oatmeal or An Oatmeal Pancake with Melted Cheese and Jam.
Recipe at a glance
Approximately 3–3.5 litres, depending on evaporation and straining losses. Approximately 30 minutes of active work, excluding daily starter feeding. Allow around 5–7 days for the ginger bug, then 12–36 hours for bottle carbonation; temperature and culture activity can make fermentation take longer. Chill before serving.
Ingredients
- 400 ml water for the ginger bug
- 1½–2 tablespoons freshly grated ginger for the ginger bug
- 2 tablespoons sugar for the ginger bug, preferably cane sugar
- Approximately 1 teaspoon each day freshly grated ginger for daily starter feeding
- Approximately 1 teaspoon each day sugar for daily starter feeding
- 3 litres water for the ginger beer base
- 200–250 g fresh ginger root for the ginger beer base, finely grated
- 200 g sugar for the ginger beer base
- The prepared starter; final strained volume varies strained liquid from the active ginger bug
- One small slice, approximately 2–3 mm thick fresh hot pepper for the optional spicy bottle
Method
- Start the ginger bug: stir 400 ml water, 1½–2 tablespoons freshly grated ginger and 2 tablespoons sugar in a clean container. Cover with a clean cloth and leave in a shaded place at room temperature.
- Feed once a day with approximately 1 teaspoon freshly grated ginger and 1 teaspoon sugar; stir and cover again. Allow around 5–7 days, sometimes longer, until clearly bubbly with a fresh, mildly fermented smell. The author’s starter was active on day five. Discard and restart if fuzzy mould, a rotten smell or obvious spoilage appears.
- Bring 3 litres water to a boil. Add 200–250 g grated fresh ginger and 200 g sugar, stir and return to a gentle boil. Reduce the heat and simmer for approximately 15 minutes.
- Cool the infusion completely to room temperature. Strain out the ginger, strain the active ginger bug liquid and stir that liquid into the cooled infusion.
- Pour into clean, food-grade PET bottles designed for carbonated drinks, leaving some space at the top. For the spicy variation, add one 2–3 mm slice of fresh hot pepper to one bottle immediately after filling.
- Check the sealed bottles frequently as carbonation develops. The author’s batch took approximately 24 hours; roughly 12–36 hours or longer may be needed depending on temperature and culture activity. Firmness indicates pressure, not completed fermentation. Refrigerate promptly once sufficiently carbonated.
- Keep chilled and open slowly, preferably over a sink. Fermentation and pressure may continue. Do not use ordinary glass bottles that are not designed for pressure. Natural fermentation can produce alcohol and does not guarantee zero alcohol; for a strictly alcohol-free drink, especially for children, use ginger syrup mixed with carbonated water instead.
Variations
- Spicy ginger beer: add a 2–3 mm slice of fresh hot pepper to one freshly filled bottle and leave it through the same secondary fermentation period.